Xbox Live Game Pass on iOS is…amazing!!

Xbox Game Pass on iOS and macOS is Amazing

Recently, Microsoft made their Xbox Game Pass subscription accessible on iOS and macOS. Admittedly, this wasn’t via a dedicated app, as that’s not how Microsoft wanted to play. Instead, when using your iOS or macOS device, you need to navigate to a dedicated webpage to stream the game you want to play. 

When I read this, I was hesitant, and it’s taken me several months to decide this was something I wanted to try out. I was hesitant because:

  • it’s another expense that I could, probably, do without when I’ve got so many other games, on other platforms, still to play

  • How can the quality be any good if the content is streamed? Surely there would be lag, and the experience would be unplayable?

Well, last week, I signed up. 

Wow. 

I wish I’d tried it sooner. 

Let me walk you through my experience. 

iOS Streaming

Let me lay a bit of context here. So this is the hardware currently in use to support this feature

The last part about the fibre connection is vital because there is a lot of data coming down. Of course, internally, it’s essential to ensure you have a strong Wi-fi connection from your phone to the router/modem itself as you can still drop packets there. If your connection is poor, this may not be for you. 

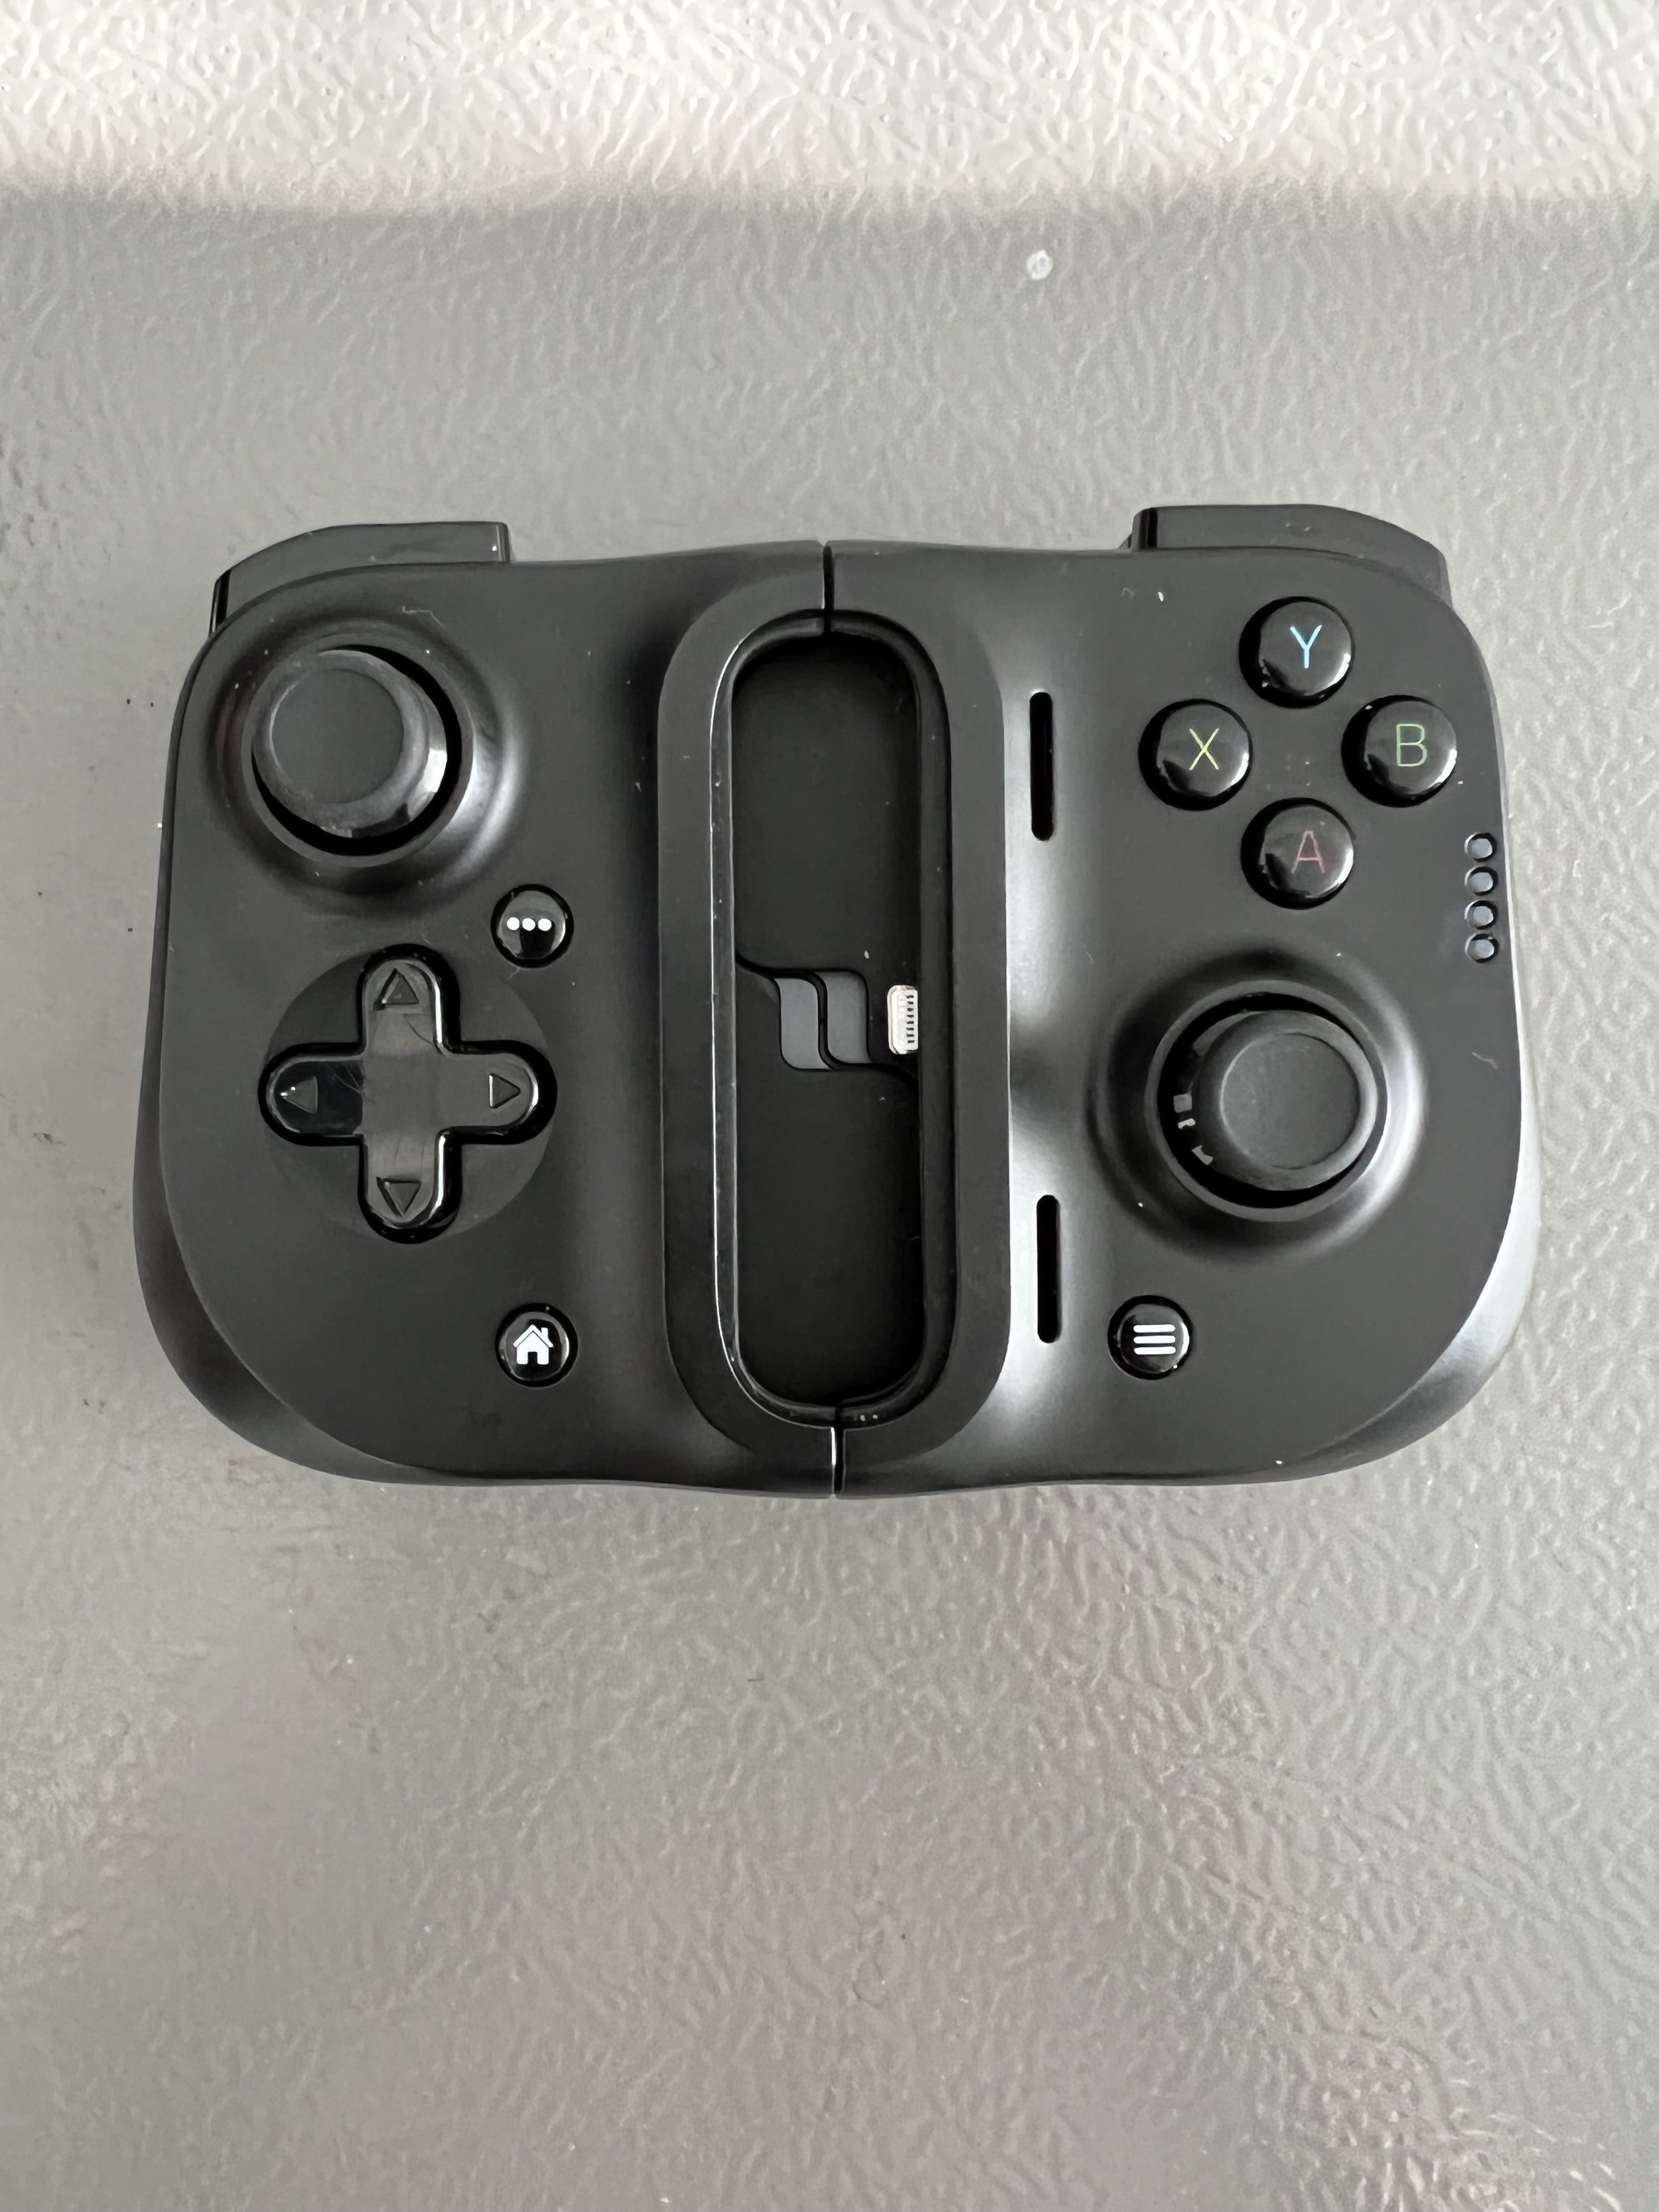
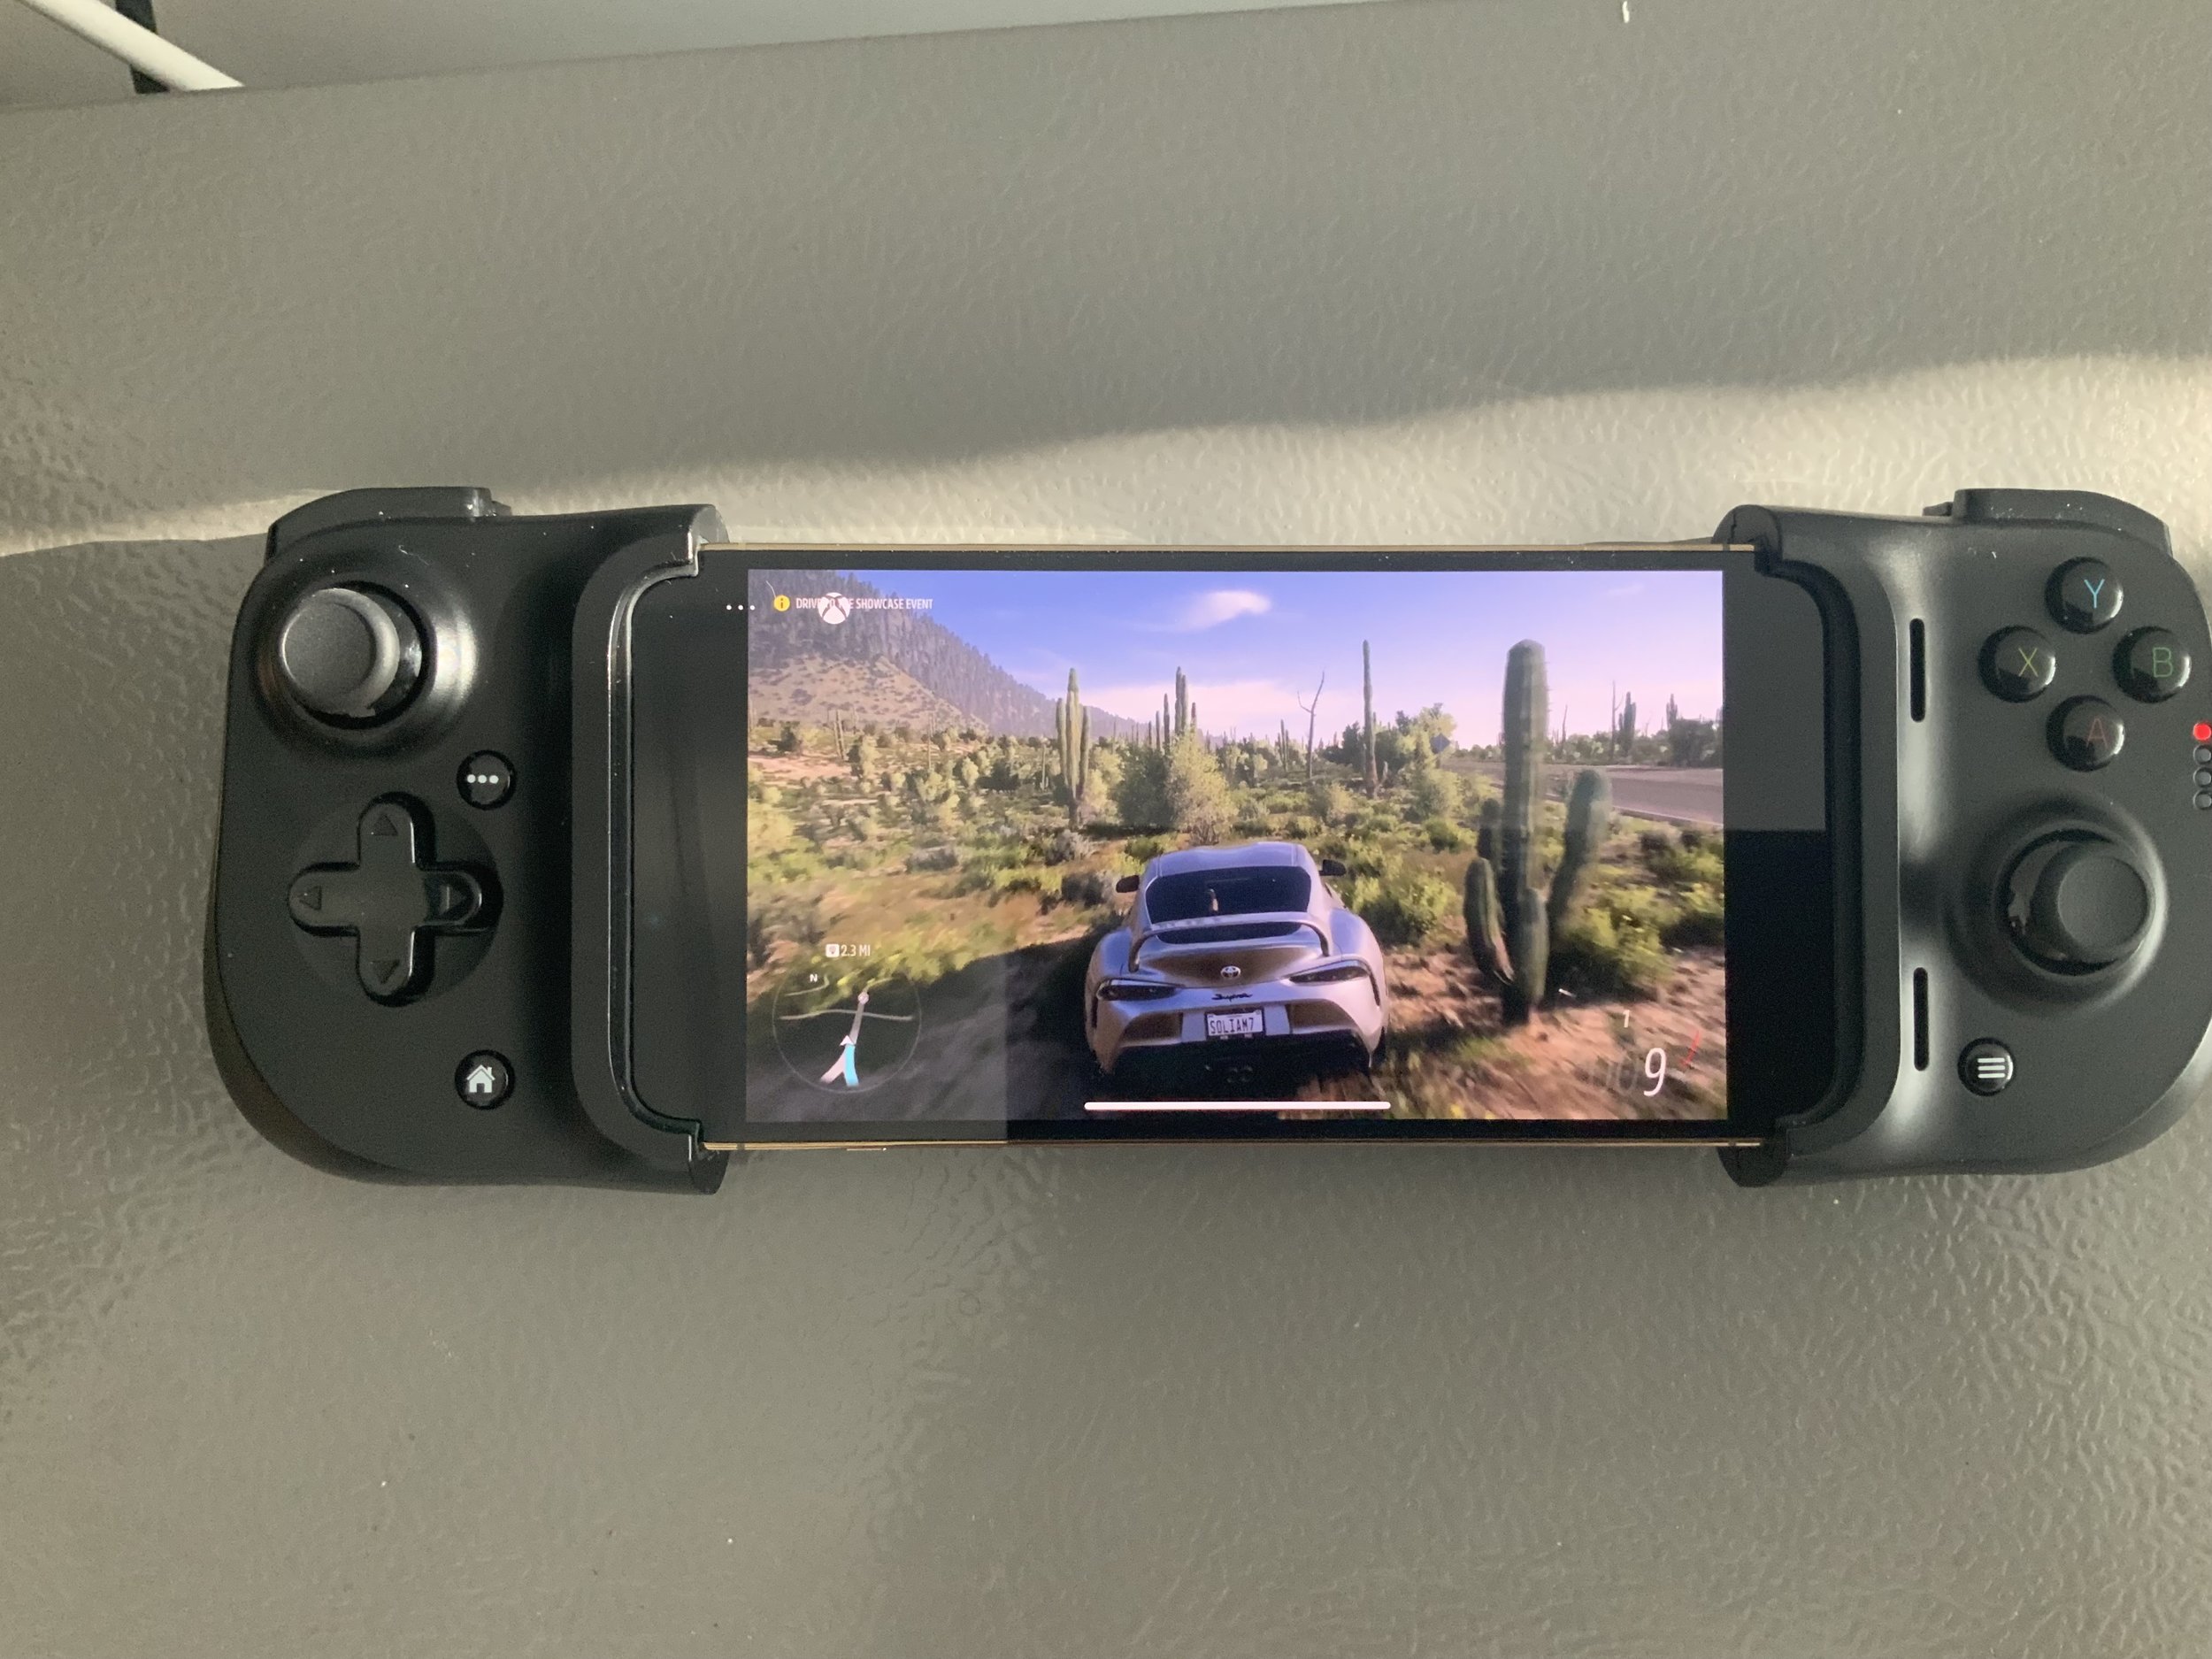
The controller is essential as well, and there are several options out there. However, I love the Kishi and have used this one for around six months now. It’s straightforward to attach to the phone, with a clasp at the back that you click to extend the phone. There is a Lightning port in the case, so you can charge your phone as you play, and it’s incredibly comfortable, allowing for long sessions of play

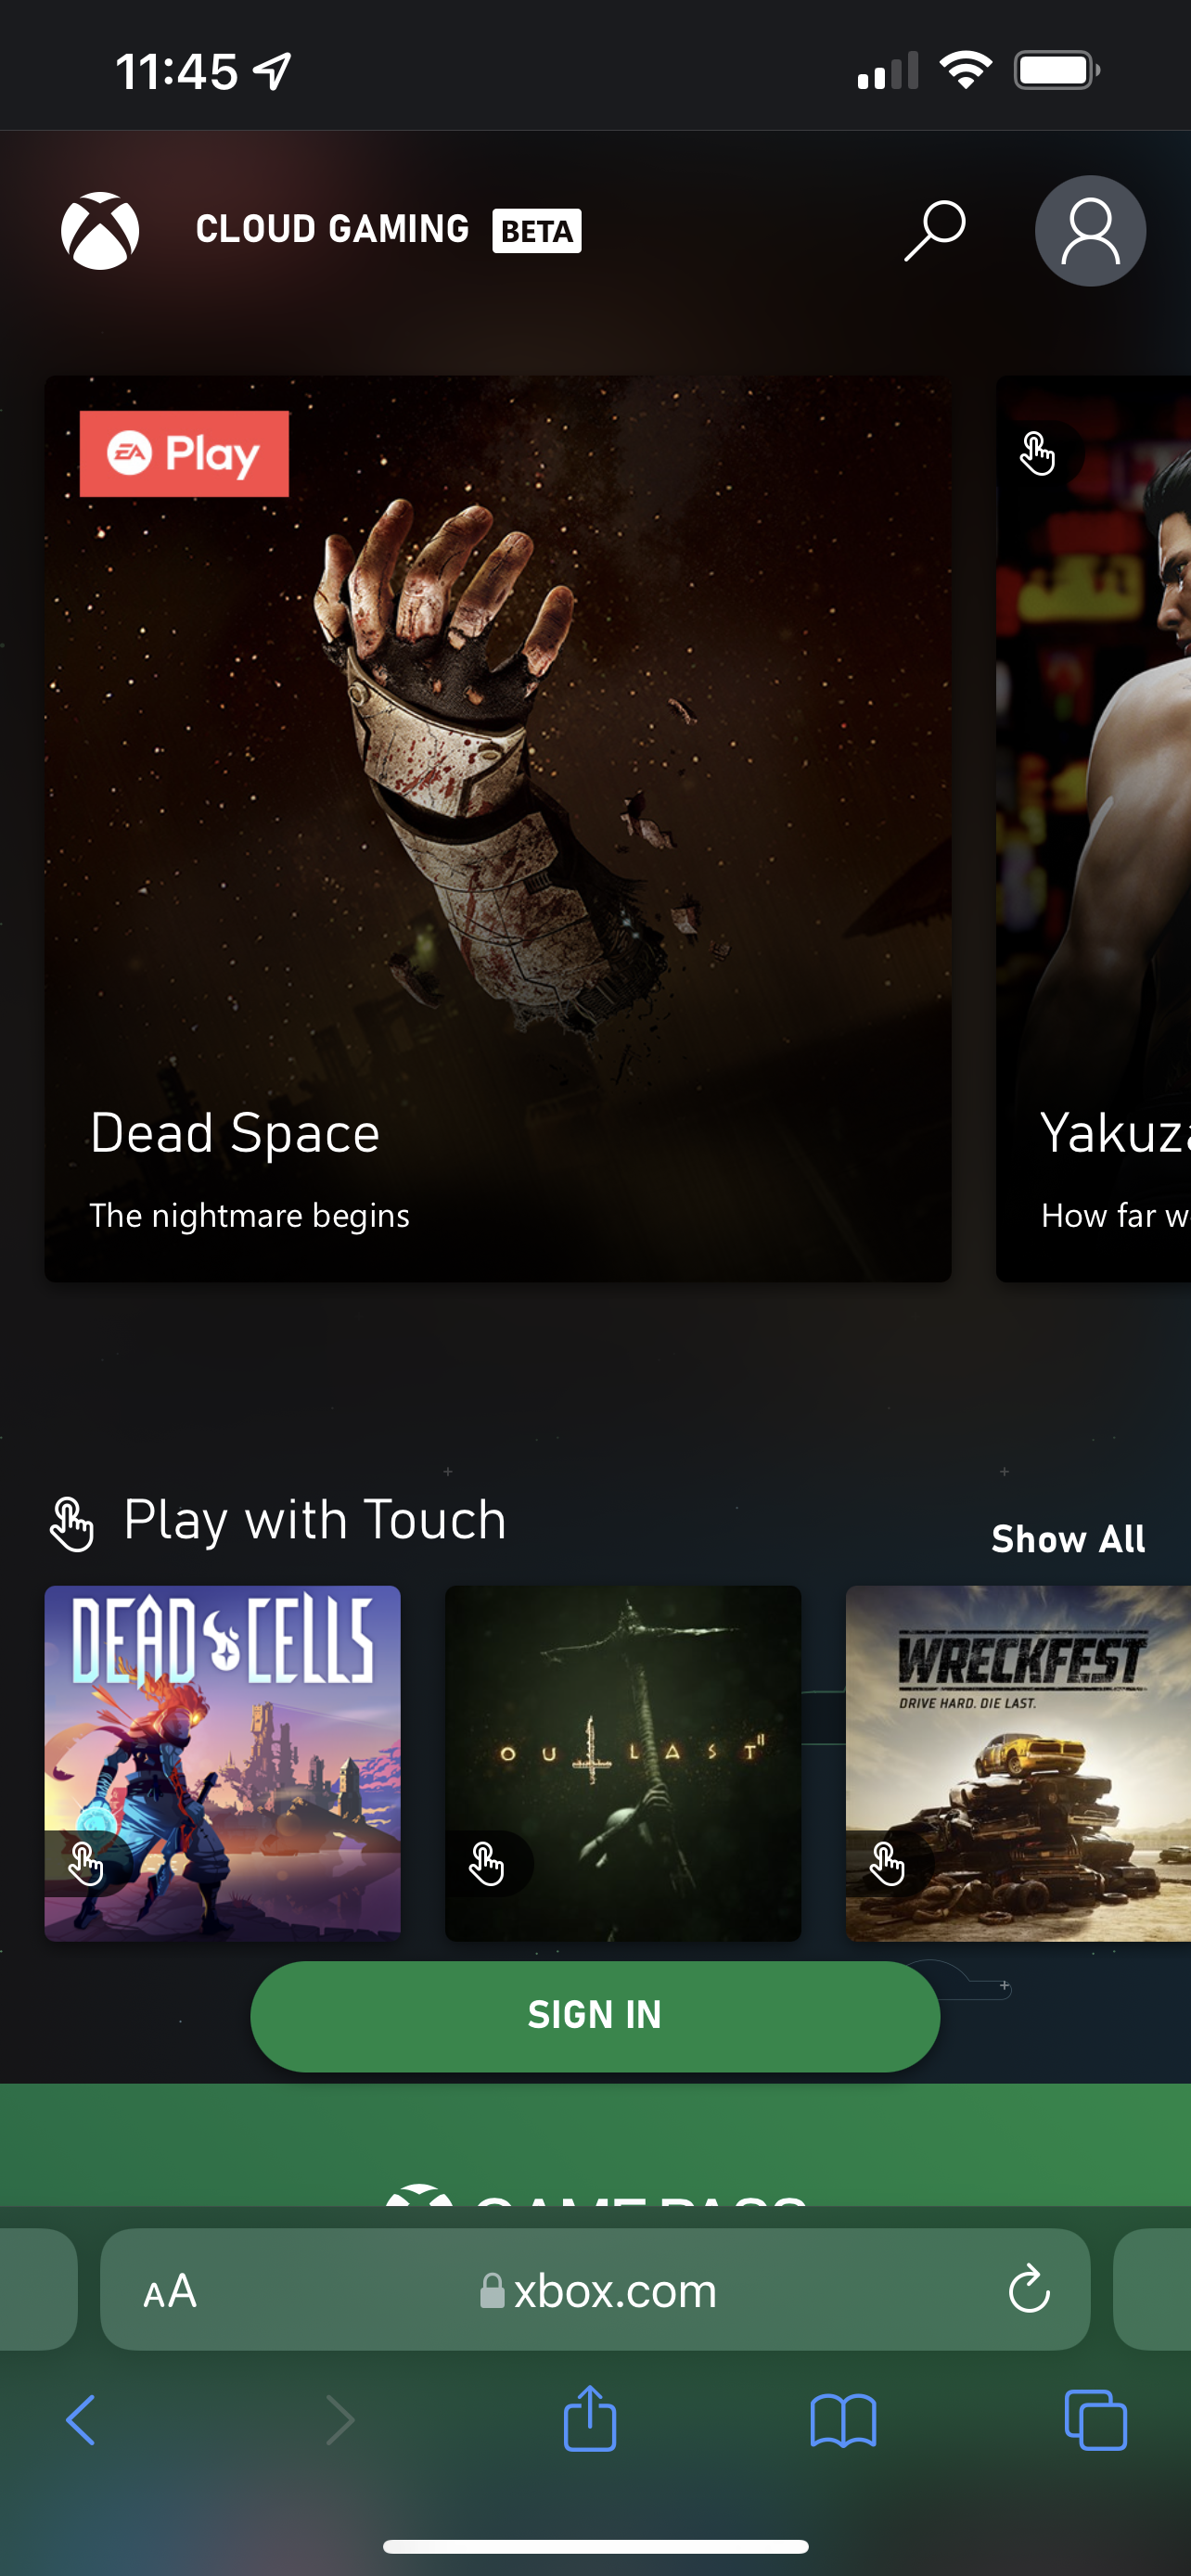
Once in, you need to navigate to https://xbox.com/play and log in with your Xbox account credentials. 

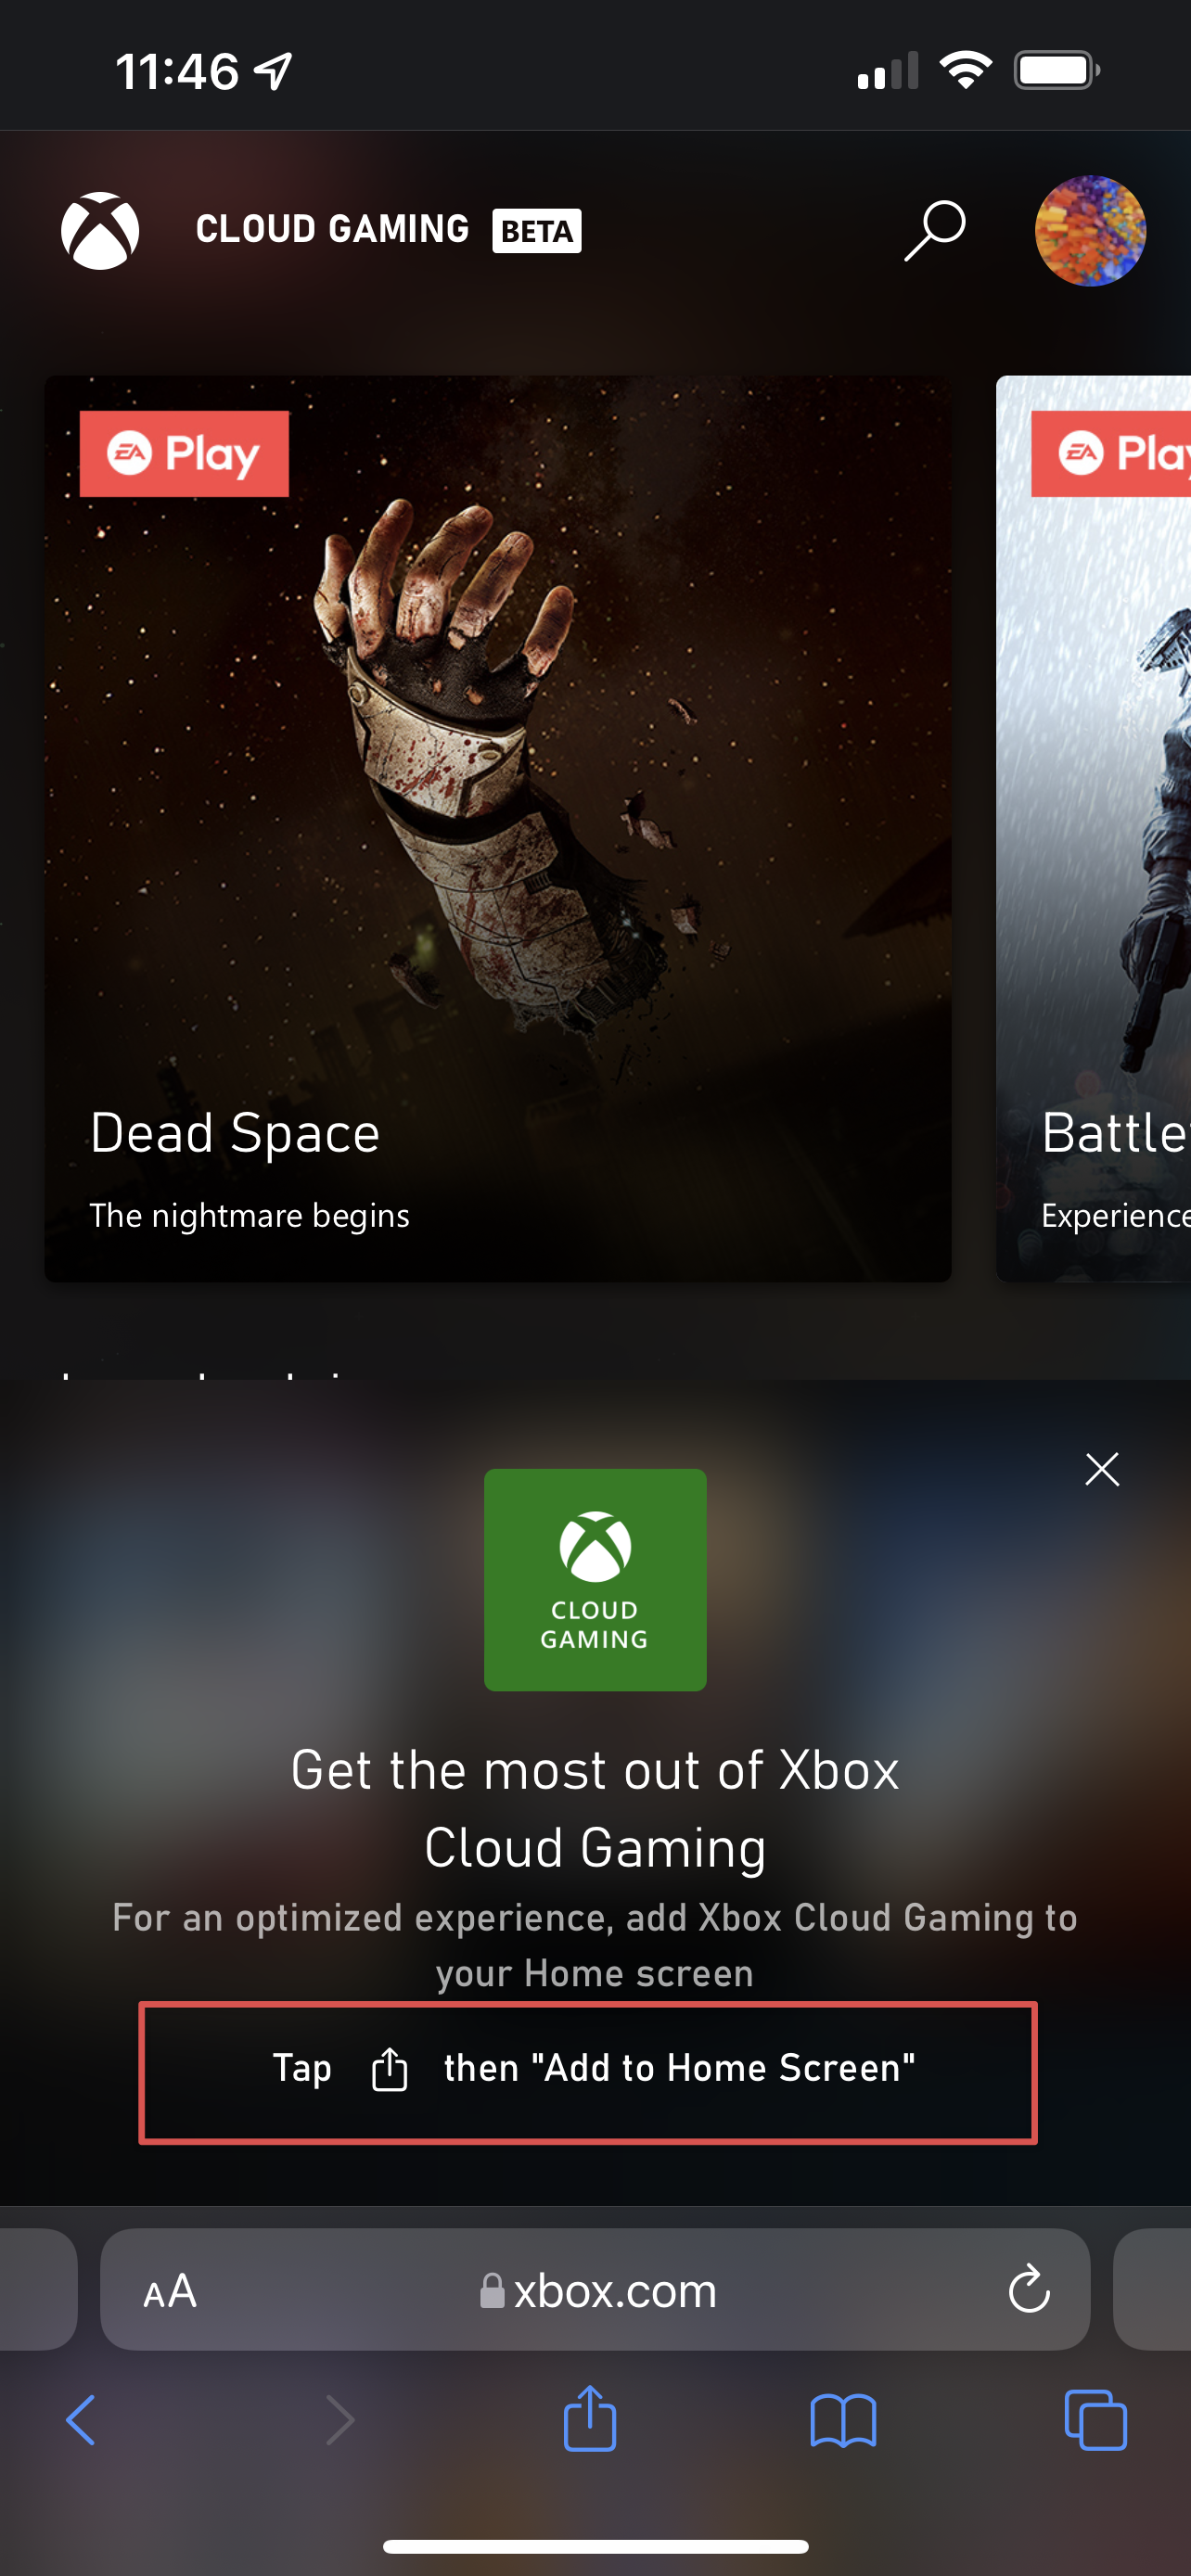
Follow the instructions, tap the Share icon and add the Xbox Cloud Gaming service as an icon to your Home Screen.

Once done, you can tap to open the list of games available to stream, and away you go. 

Now I will say that the experience on the iPhone, whilst amazing for the size of the device, is the weakest of the platforms I’ve played it on - namely because of - the size of the device! When playing Forza Horizon 5, the response times were great; I had no issue with a lag; however, when you’re used to playing games like Forza on the big screen, it can’t help but feel condensed. That said, games like What Remains of Edith Finchplay superbly on the smaller form factor, and I’m sure that if I were to spend time going through the catalogue, I’d find more examples of titles that almost look as if they were made for the iPhone screen. 

iPadOS

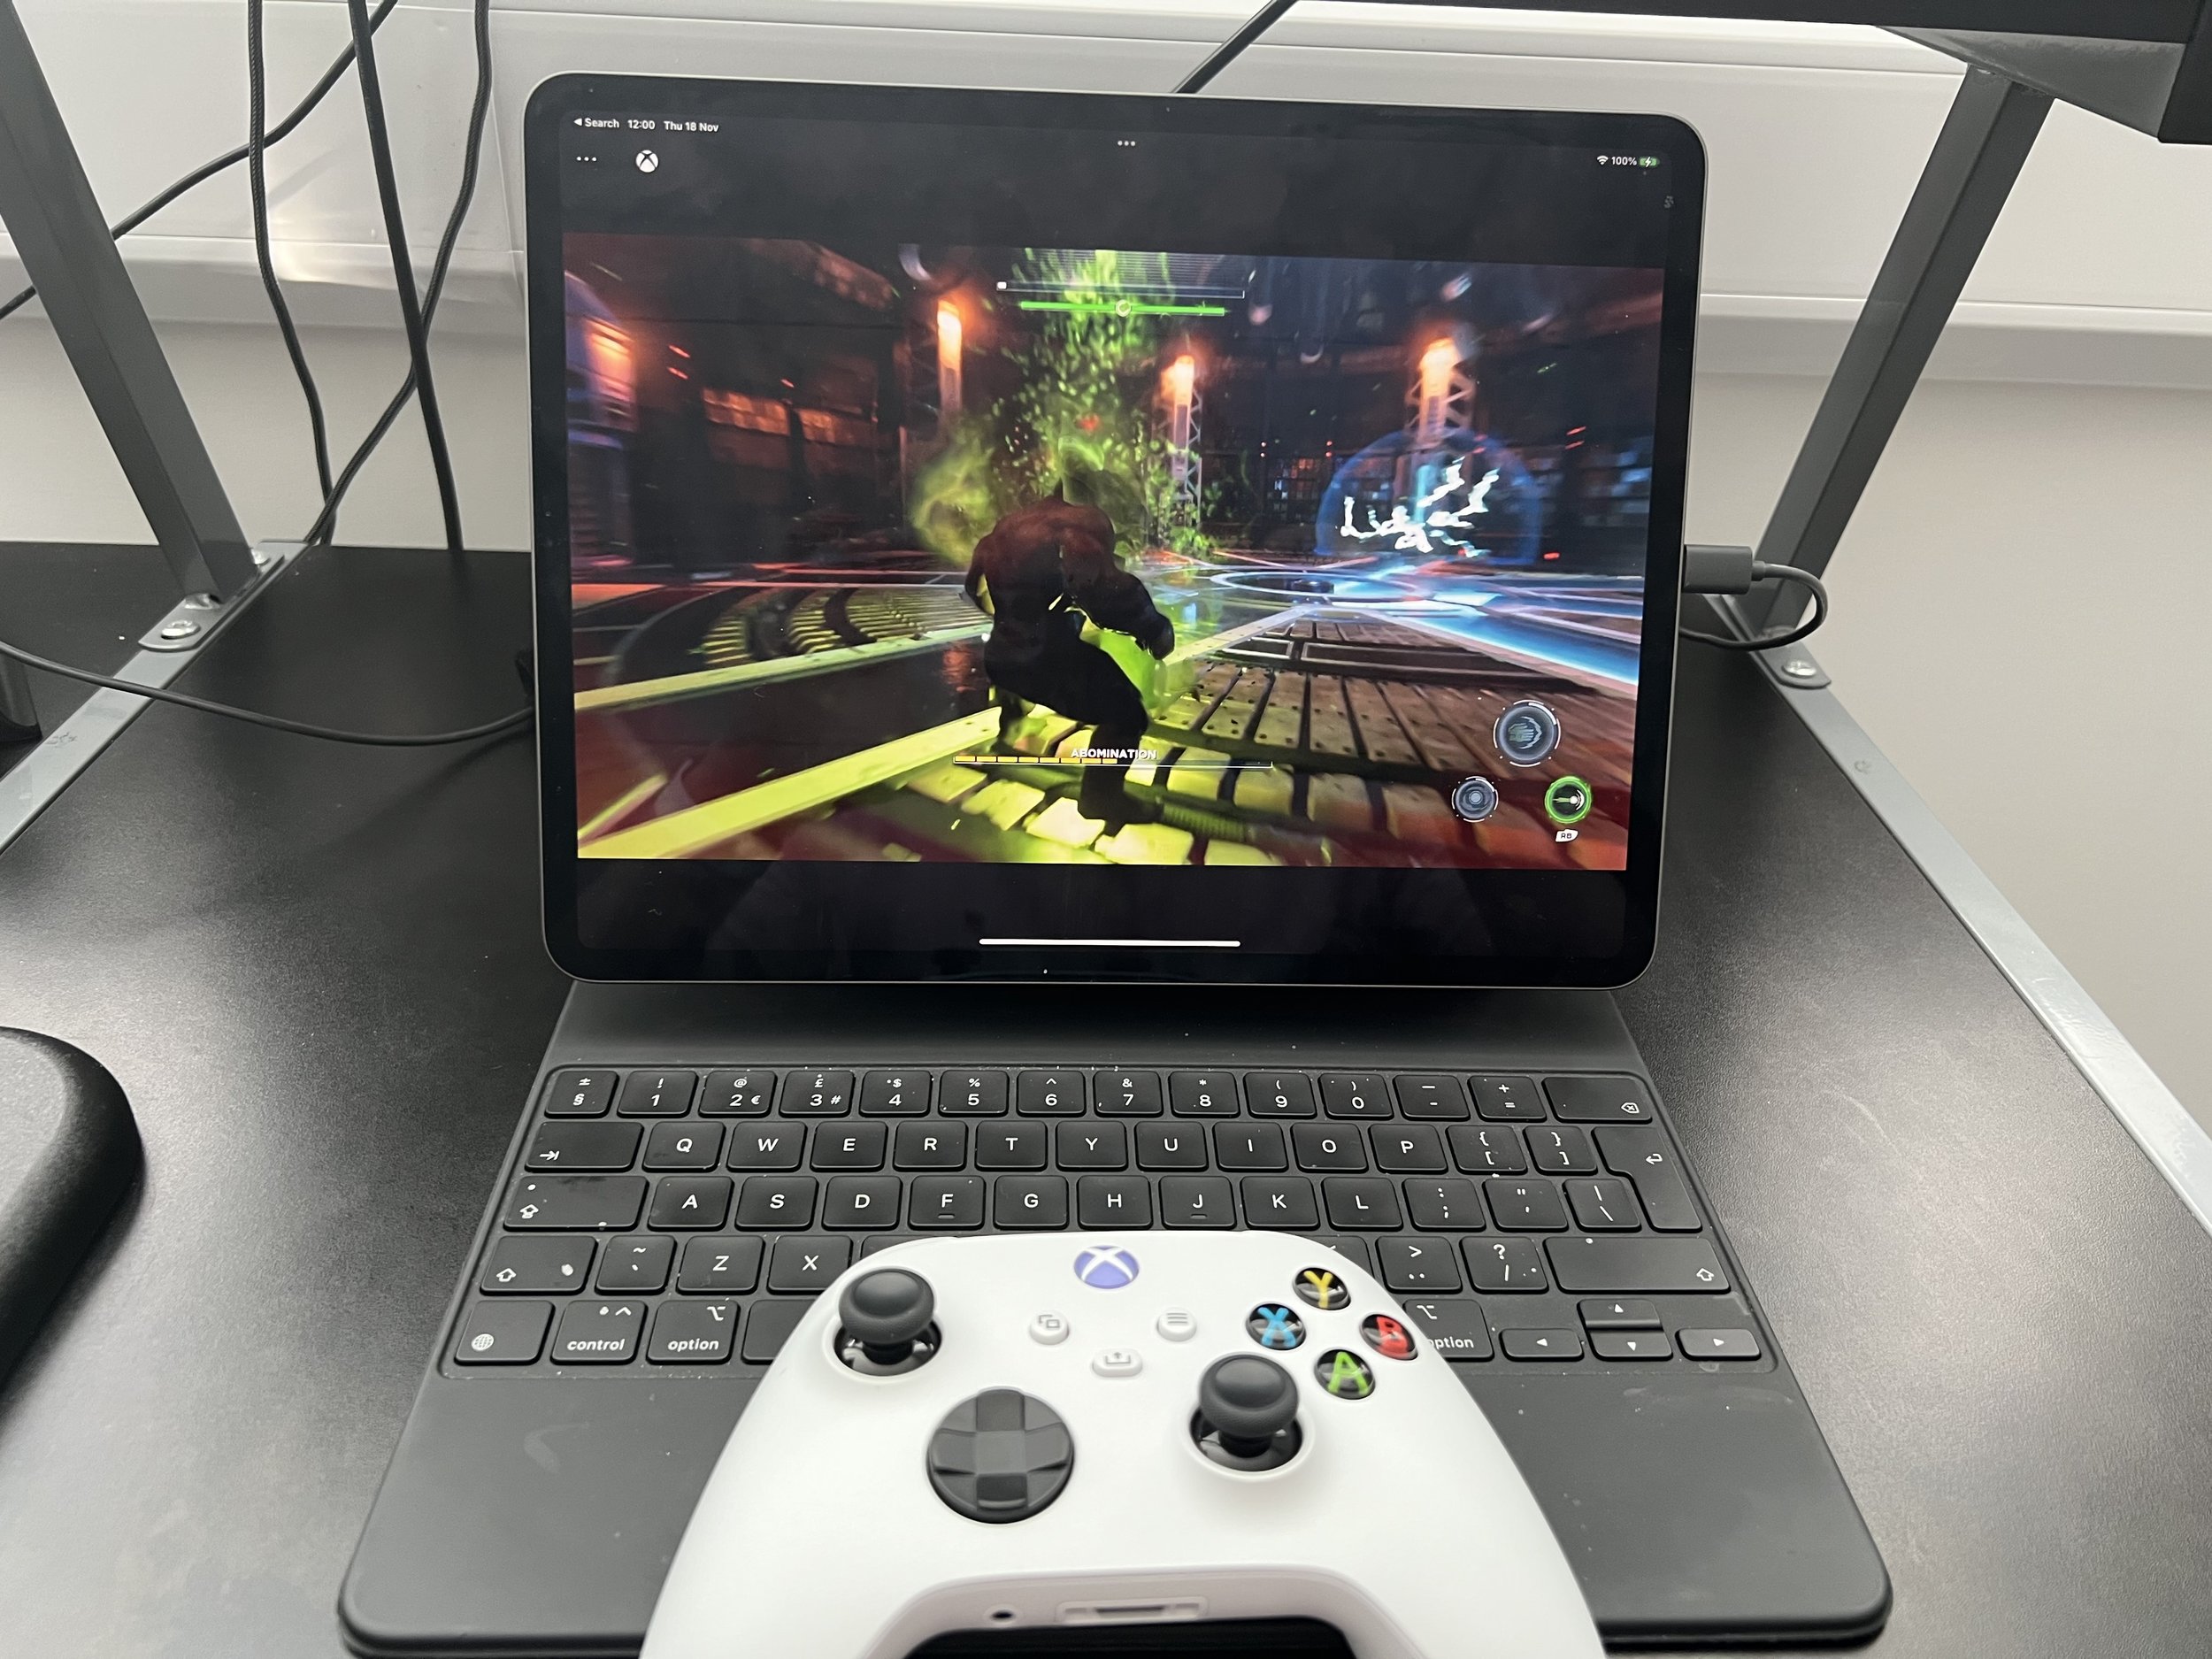
Onto iPad now, the main difference here comes in the controller that I used. Now I had one of the original Steel Series Nimbus controllers that I purchased back when gaming on the Apple TV was introduced (RIP to that - at least in my eyes. We hardly knew yow). Sadly, the experience was less than optimal. There seemed to be a delay when pressing the A button, as an example. When playing Marvel Avengers (I know it’s been criticised, but I enjoy it), you can’t push down on the left analogue stick to Sprint because it’s not recognised - all in all, not great. 

So I purchased the official Xbox One Wireless Controller and connected that up. All other issues were resolved. 

The iPad I have is the 2018 3rd Gen 12.9 Pro, so not the latest or greatest as I essentially use it as a media consumption device. 

And now game streamer. Because the quality is fantastic, I have Marvel Avengers installed locally on the Xbox One in my utility room, and when I have my morning coffee, I will sit there for half an hour and play as I wake up. The load times can be annoying, whereas one advantage of streaming is within almost 5 seconds of me tapping the game button, I’m smashing people up as Hulk, and that feels good sometimes. 

MacOS

Finally, onto MacOS, and this is where, naturally, the best experience is. So I’ve got one of the new M1 Pro devices, and it’s hooked up to a couple of 28-inch 4K monitors in my office. Once I’ve mapped the Xbox Controller to it, it’s pretty much the same process as iOS; you don’t need to create any shortcut. Just go to https://xbox.com/play - and go to town. 

I don’t need to say much more. It works amazingly.

I tried it with a Windows 10 VM, using Parallels as well, and the experience was excellent - added to by the fact there are more games available on Game Pass for the PC than elsewhere. Titles like Age Of Empires, Fallout 1 and 2 and more mean it’s just another outlet I’ve got if I need it. 

I know my site generally focuses on Productivity, so you may be wondering why I’m writing about the above? Well - we all need downtime. We all need to do the things that bring us joy without feeling guilt, at not working on something that brings in an income. Gaming has, forever, been my outlet and where I go to switch off. There are times when I’m in a repetitive race on Forza where my brain drifts off, and I find myself having some of my best ideas. 

Game Pass iOS/iPadOS and MacOS is, in my eyes, a triumph, and I’m so surprised to find myself saying that.

Use Your iPhone Keyboard Like a Boss

For all iPhone users, the keyboard is the piece of functionality that gets the most use - I don’t think that can be disputed. No matter the application, there is a good chance you are going to use the keyboard so it makes sense for you to make this as easy as possible. There are lots of tips and tricks to maximise your efficiency with it - some are well known, others not so. 

Here are a few of my favourites. Certainly not a comprehensive list of everything you can do but I play with these bits the most. 

Settings

If you go to Settings -> General -> Keyboard there are lots of options here to play with. 

You can enable/disable Auto-Capitalisation for words, Auto-Correct and the checking of spelling as you type.

Enable Caps Lock is a solid option. If you tap twice on the shift key then this enables Caps Lock - until such time as you tap it again. 

Other notable settings here include turning off Predictive Text, turning off the Character Preview which is the enlarged image of the key that shows when you tap it. Also, the ”.” Shortcut allows you to double-tap the space bar to insert a full stop/period, followed directly by a space. 


IMG_0017.PNG

Text Replacement

If you are familiar with tools like TextExpander then you know all about Text Replacement. You can use short snippets of text and expand them to form longer sentences/characters. Very useful if you have strings of emoji characters that you use often. Simply type in the shortcut and the longer phrase will be offered as an option in the Quick Type window.

IMG_0018.PNG

Shake to Undo, Swipe to Undo (three fingers)

The faster you type, the easier it is to make a mistake. No problem, simply shake your iPhone to bring up the Undo popup or swipe across on the screen with three fingers to the left to Undo - or the right for a nifty little redo option

Double or Triple Tap to Select

Need to select some text for formatting or copying? Double-tap to select a single word, or triple-tap to select the entire paragraph

Added bonus - did you know that once you have highlighted your text, you can pinch with three fingers to copy the text and then pinch once more to cut? I think I found this by accident using an iPad. Useful. 

Turn into Trackpad

If you keep your finger on the spacebar, you can convert your keyboard into a trackpad, allowing precision placement of the cursor. 

If you use a second finger to tap whilst moving the cursor in this fashion, you can select text easily as well. 

Tap and Hold a Letter for more options

Most keys on the keyboard have more than one option. Long press on a character key to look at various accented characters or different punctuation marks.

IMG_0019.PNG

Lookup Dictionary Definitions

Did you know that you can look up the definitions of words you have typed without the need to shift to another application? Simply select the text - then choose Look Up from the pop-up menu and you’ll be presented with the definition.

IMG_0020.PNG
IMG_0021.PNG

Left/Right Handed Keyboard

Finally, if you struggle to use the keyboard with one hand, you can actually move the keyboard to either the left, or the right hand side of the screen. 

Long press on the emoji icon in the bottom left hand corner and position the keyboard on either the left or right of the screen as needed. Or put it back in the centre if you find the resulting keyboard too small.

IMG_0022.PNG
IMG_0023.PNG
IMG_0024.PNG

How To: Use your iOS Keyboard Like A Boss - 10 Tips

For iOS owners out there, the keyboard is possibly the function that is used the most. It’s central to the vast majority of applications that we use. Whilst dictation is improving rapidly, we’re not at the stage yet, either functionally or socially, where it’s use outweighs the humble keyboard - so it’s a good idea to make sure we’re using it as efficiently as possible. 

Below are some quick tips that you can use to level up your keyboard skills:

1 - Long Press Keys for More Characters - by default, the currency icon on display in the UK is the £ symbol. If you tap and hold on this, you’ll see a list of others you can quickly access. There are other keys that this works with too. Typing a word that needs an acute accent on an e? Tap and hold on the e and you’ll see the é you need.

2 - Reveal the Cursor - if you have a 3D Touch enabled phone, this is a doozy. Force touch on the keyboard and you’ll see a cursor appear - use your finger as a trackpad to move the cursor and perform the edits you need quickly and efficiently.

IMG_0168.png
IMG_0169.png

If you have an iPad, a similar effect can be had by swiping with two fingers when the keyboard is open to move the cursor. 

3 - Caps Lock - there is no Caps Lock button on iOS, however, a double tap of the Shift key will activate it. You do need to enable the function by toggling the Caps Lock setting in Settings -> General -> Keyboard

Another good tip here is that rather than tap Shift, press the key you want to capitalise and tap again, you can tap on the shift key and drag your finger across to the letter. When you release you can carry on typing and this saves some time. 

4 - Quick Numbers/Punctuation - in a similar vein to the above, you can save time when typing numbers and punctuation. If you just need a single number or punctuation symbol, tap on the 123 button and hold, dragging across to the desired key. When you release, the keyboard will be back to the default letters layout and you can continue unabated. I use this a lot. 

5 - Double Tap Space For Full Stop/Period - so simple it annoys me that this lay undiscovered for me for so long. A quick double tap of the space bar will show a full stop/period and save lots of time when carrying out longer form writing. 

6 - Fast Domain - when composing mail in the native Mail application (and Airmail I’ve recently found), if you are entering a recipient address and you long tap the full stop/period button, you will be presented with a list of common email suffixes.

7 - Text Replacement - whilst I am a keen user of TextExpander from Smile Software, you don’t HAVE to use it. There is a built-in Text Replacement service in iOS. Go to Settings -> General -> Text Replacement and enter some abbreviations for frequently typed expressions and you will improve our keyboard game.

IMG_0163.png
IMG_0164.png

8 - Shake To Undo - spent a while typing strings of text, only to accidentally delete it? A light shake of your phone will give you the option of undoing the last action you applied to your text entries. 

9 - Look Up Definitions - rather than use a third party dictionary application, you can long press on a word and choose the Look Up option.

IMG_0165.png
IMG_0166.png
IMG_0167.png

10 - Enable Dictation - ok it's not perfect, however,  I find myself dictating far more often now with greater accuracy than ever before. It's especially good for quick-fire text messages.